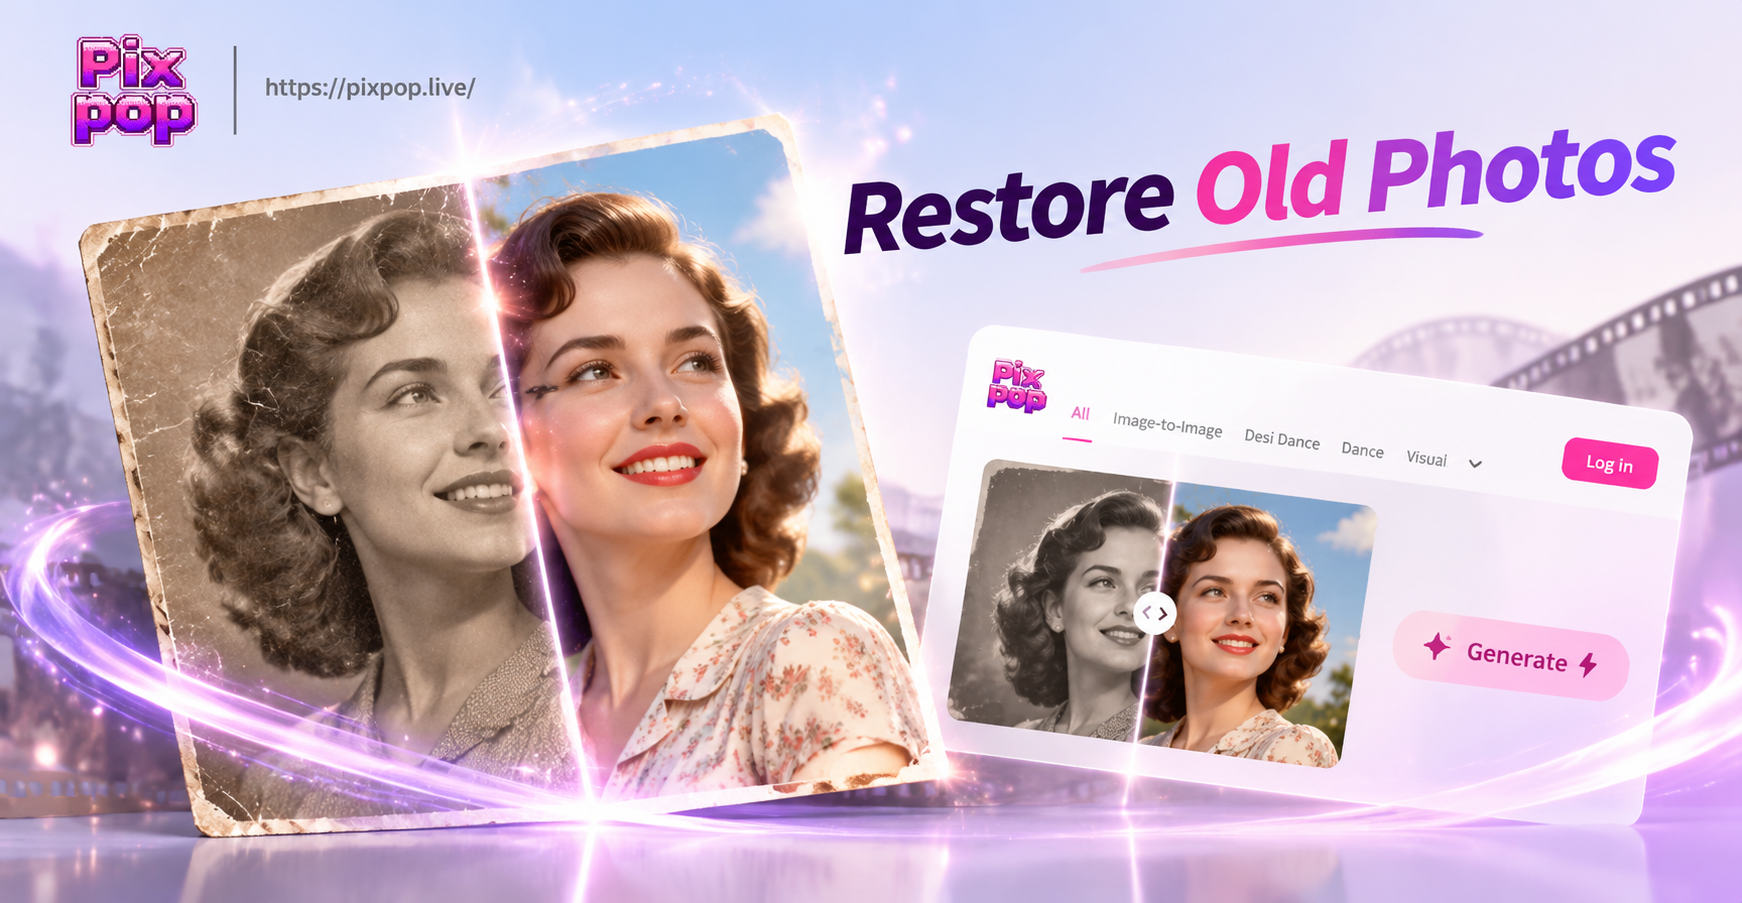
Family photographs carry the weight of memory. A wedding portrait, a childhood snapshot, a fading image of someone you miss. Over time, physical prints collect scratches, dust spots, and creases. Colors shift. Faces become blurry. You may have thought the damage was permanent, but AI photo restoration has changed that. With a smartphone and the right app, you can now repair much of that damage in just a few minutes. This article explains what AI restoration can do, how to prepare your old photos, and how to get results that look natural rather than artificial.
What AI Photo Restoration Actually Does
AI restoration tools are trained on thousands of paired images: one damaged version and one clean version. From those examples, the model learns to recognize scratches, stains, noise, motion blur, and faded areas. When you upload an old photo, the AI predicts what the clean original might have looked like and fills in the missing information pixel by pixel.
In practice, AI photo restoration can remove fine scratches and dust, reduce heavy grain and sensor noise, sharpen soft facial details, repair crease lines and minor tears, colorize black and white or sepia prints, and upscale low resolution images for printing. The result is not a magical recovery of every lost detail, but it often looks far better than the damaged scan you started with.
Because the technology focuses on common patterns in old photographs, it is especially effective on formal portraits, group photos, and family snapshots. Faces benefit the most, since many models include special facial prior knowledge that keeps eyes, mouths, and hairlines looking human.
How AI Restoration Models Work
Most modern photo restoration systems combine several neural networks. An inpainting network fills scratches and missing areas with content that matches the surrounding texture. A face enhancement network sharpens eyes, lips, and skin while preserving identity. A colorization network assigns plausible skin tones, clothing colors, and background hues based on historical context and common object knowledge. Finally, an upscaling network adds resolution so the restored image can be printed without pixelation.
This process is different from simply applying a stylized filter. A good restoration model tries to stay close to the original. That is why choosing the right style or template inside an app matters. Some AI design apps, including PixPop, offer image to image tools and realistic enhancement styles that work well for this task.
How to Restore Old Photos With AI in 4 Steps
You do not need professional software to restore old photos with AI. These steps work for most family photographs and can be completed on a mobile device.
Step 1: Create a Clean Digital Copy
Start with the best possible scan. If you own a flatbed scanner, scan the photo at 300 DPI or higher for small prints and 600 DPI for wallet sized images. Use the color photo setting even for black and white prints, because it captures more tonal information. If you only have a phone camera, place the photo on a flat, dark surface and light it evenly from two sides. Hold the phone parallel to the print and avoid using the flash. Fill as much of the frame as possible without cutting off the edges.
Remove loose dust and visible lint with a soft brush before scanning. Do not try to flatten curled photos with heat or heavy pressure, as that can crack the emulsion. Place them under a clean book for a day if needed.
Step 2: Open the PixPop App and Upload the Image
Download the PixPop app from Google Play on your Android device. Open the app and select the image to image option. Upload your scanned photo from the gallery. If the app asks for a reference or style, keep that step for later. You want to start from the original scan so the AI has as much real information as possible.
Step 3: Choose the Right Enhancement Style
When selecting a template or filter, look for realistic photo enhancement, high fidelity, or classic portrait styles. Avoid heavy artistic effects like anime, watercolor, or cyberpunk if your goal is authentic restoration. Those styles can be fun for creative projects, but they will not respect the original photograph. For old photos, a light touch usually gives the most believable result.
Some photos benefit from two passes. Run the image through a cleaning style first, then generate a colorized version from the cleaned black and white file. This prevents the AI from amplifying stains and scratches while it guesses colors.
Step 4: Generate, Compare, and Export
Let the AI process the image, then compare the restored result side by side with the original. Zoom in on faces, hands, and fabric patterns. If the result looks too smooth or has invented details, try a different style or rerun the same style. Most AI image tools, including PixPop, allow multiple generations, so you can keep the best version. When you are satisfied, export the image at the highest available resolution and save a copy to cloud storage.
7 Practical Tips for Convincing AI Photo Restoration
Small preparation choices make a big difference in the final quality. Use these tips to avoid the most common AI restoration failures.
- Scan at the highest practical resolution. Low resolution scans leave the AI with too little data and can produce smeared or invented details.
- Remove large debris before upload. Tape, album paper, and heavy dust confuse the inpainting model and create dark smudges.
- Use soft, shadow free lighting. Shadows on a photo scan look like creases to the AI and may be repaired into strange dark lines.
- Keep some original grain. A completely smooth face often looks plastic. Choose a style that reduces noise without erasing all texture.
- Colorize after cleaning. If you want color, first restore the black and white version, then apply colorization to the cleaned file. This sequence reduces color bleeding from scratches.
- Preserve natural facial features. Avoid styles that widen eyes or whiten teeth too much. The goal is recognition, not a beauty filter.
- Always archive the untouched original. You may want to retry with different settings later, and the original is your only source of truth.
Common Problems and How to Fix Them
AI restoration is powerful, but it can make mistakes. Here is how to recognize and correct the most frequent ones.
Over Smoothed Faces
If the restored face looks like a wax figure, the enhancement model removed too much skin texture. Fix this by choosing a milder enhancement style or reducing the strength if your app allows it. Keeping the original grain often helps.
Inaccurate Colors
AI colorization guesses colors from context. It may give a blue coat instead of a brown one. If the colors feel wrong, try a different colorization pass or compare against family memories and written descriptions. For black and white photos, a sepia or neutral tone may be more respectful than full color.
Unrealistic Eyes and Teeth
Face enhancement networks sometimes make eyes too bright or teeth unnaturally white. Look for templates that preserve age and expression. If one eye is damaged in the original, the AI may copy information from the other eye, which is usually a good thing, but check that the direction and size remain natural.
Lost Fabric Details
Fine patterns in clothing can disappear when the image is denoised. Choose a style that balances cleaning with texture preservation. If the pattern is important, you can scan the clothing area at a higher resolution and process it separately, then combine the two images manually.
Distorted Backgrounds
Complex backgrounds with fences, wallpaper, or signs can confuse the inpainting model and produce wavy lines. Crop loosely around the subject or use a style that focuses on faces. If the background is badly damaged, ask a family member about the original location and compare with other photos from the same day.
AI Restoration vs Traditional Photo Repair
Traditional photo repair done by a professional retoucher remains the gold standard for severely damaged photographs. A human expert can rebuild missing sections using historical references, interview family members, and make careful artistic decisions. That service can cost anywhere from a modest fee for minor cleanup to hundreds of dollars for a full restoration.
AI restoration is much faster and far more affordable. It handles the most common problems, such as dust, scratches, fading, and moderate blur, without needing design skills. For the average family archive, an AI pass followed by a light manual touch is often enough. For images with large tears, missing eyes, or historical importance, consider using AI as a first step and then sending the result to a professional retoucher for final reconstruction.
After Restoration: Share, Print, and Preserve
Once you have a restored version you like, put it to use. Print the image on archival quality paper and frame it for a family member. Share the before and after versions in a family group chat, which often prompts relatives to share more old photos and add context. Create a digital album with captions that include names, dates, and locations. Store both the original scan and the restored file in at least two places, such as a cloud drive and an external hard drive.
If you have a large collection, restore the most important faces first. Group photos, wedding portraits, and images of people whose names might otherwise be forgotten should take priority. The process gets faster with practice, and you can build a routine for scanning a few prints each week.
Frequently Asked Questions About AI Photo Restoration
Can AI restore torn or missing parts of an old photo?
AI can fill small tears and scratches by guessing from surrounding pixels, but it cannot recover information that was never captured. Large missing sections may be replaced with plausible content, but that content is invented. For important missing areas, combine AI with manual editing or a professional retoucher.
Does AI automatically colorize black and white photos correctly?
AI colorizes based on learned patterns from millions of images, but it cannot know the true colors of a specific coat or car. The result is often convincing but may not match your family's memory. Use AI colorization as a starting point and adjust colors manually if accuracy matters.
Is AI photo restoration safe for one of a kind prints?
Yes. AI restoration works on a digital copy, so the original print is never touched or altered. Always create a high quality scan first, then process only the digital file. This keeps your original safe and lets you experiment with different restoration styles without risk.
Which photos restore best with AI?
Photos with clear faces, moderate damage, and good lighting restore best. Extremely blurry, heavily torn, or very dark images may require manual intervention before or after the AI pass. Group photos also work well, provided the faces are not too small in the frame.
Final Word
Restoring old photos with AI is no longer a job reserved for photo studios. With careful scanning, a realistic enhancement style, and a little patience, you can bring your family's visual history back into focus. The joy of seeing a faded portrait regain its warmth is worth the effort. Start with one photo that matters to you, download the PixPop app, and give it a new life.